Naturally Scented Play Dough Recipe
Did you play with play dough as a kid? I know I did. I was the kid that loved play dough but could not handle mixing the colors together. Once they got all mishmash together it was just wrong and I had to go. The other thing I vividly remember about play dough is getting to make it.
I remember making play dough on at least a few different occasions and no two times to ever came out quite the same. But it didn’t matter, it was always fun. Now, as a mom, I get to make play dough for my son and pass down the experience making your own dough. The recipe is pretty much the same as I always remember it, though I finally read up and now (sort-of) understand the cream of tartar. The only thing that’s really different now is essential oils.
You can talk about the benefits of the aromatherapy while kids play but, come on, it’s about the fun smells. Who doesn’t like lemon, lime, and orange scented play dough? Yum!
Safety First
Before we dive in let’s talk about a few tips, tricks, and safety concerns. Prior to getting started, decide which steps are appropriate for your kids to participate in. In my experience, there is no one-size-fits-all answer here. Some four year olds can probably do this safely and nearly unassisted from beginning to end, other kids may need a little more help or may be better suited for a supervisory role.
Next, make sure everyone is wearing gloves. I say this for two reasons. The first reason is the food dye. Unless you want to look like Rainbow Brite, it’s best to wear some plastic gloves when mixing in your colors. The second reason I advocate for gloves is the dough will be really warm. The last thing you want is a warm piece of sticky dough getting stuck to your finger only to realize it’s a little too warm to be attached to your skin. If you’re wearing gloves, it’s much easier to quickly yank them off than it is to try and wash sticky dough out of from between your fingers.
Another thing to consider is the surface you’ll be working on. This goes back to the dye. Now, I know the finish on my countertop has worn away a bit so if I accidentally get a little dye on the counter it’s going to soak right in and never come back out again (recently experienced this effect when some soaking black beans spilled, leaving a black ring behind). Because of this, I like to work on a plastic tray. It’s really not all that necessary, however it’s an extra bit of insurance to protect the value of your counters and tables.
The last real safety concern may seem a little silly but here it is anyways. While all the ingredients are non-toxic and technically safe for consumption, I would still keep a very close eye on little ones and raw flour. Raw flour is actually just as much of a concern as raw eggs in things like raw cookie dough. Raw flour can contain some particularly nasty strands of E. coli. So just be aware this dough is not likely to poison your little ones, it’s probably still a good idea to discourage eating it by the spoonfuls. As I mentioned, it will smell delicious and possibly be a little tempting. Don’t believe me? Check it out.
Let’s talk about the cream of tartar
Arguably not necessary for the play dough recipe, however I’ve read plenty of arguments that suggest this will help keep the play dough fresh and squishy for longer periods of time. So, what is cream of tartar and why should you resist the urge to skip this seemingly inconsequential ingredient? Scientifically speaking, cream of tartar is potassium bitartrate, also known as potassium hydrogen tartrate or tartaric acid. Is is a powder, dry and acidic byproduct of fermenting grapes into wine. It’s a very useful ingredient, especially in baking.
When it comes to play dough, it is said to increase the shelf life and make for a better play dough texture. On this, I can’t speak from experience. Yet. I plan on attempting some play dough recipes without cream of tartar at some point. For now, use it if you have it. If you don’t have it, I suggest picking some up, but know that it won’t break the recipe if you skip it all together.
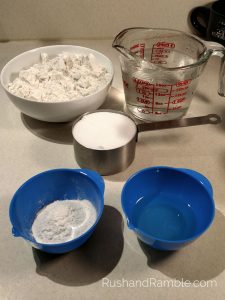 |
Ingredients
|
Recipe
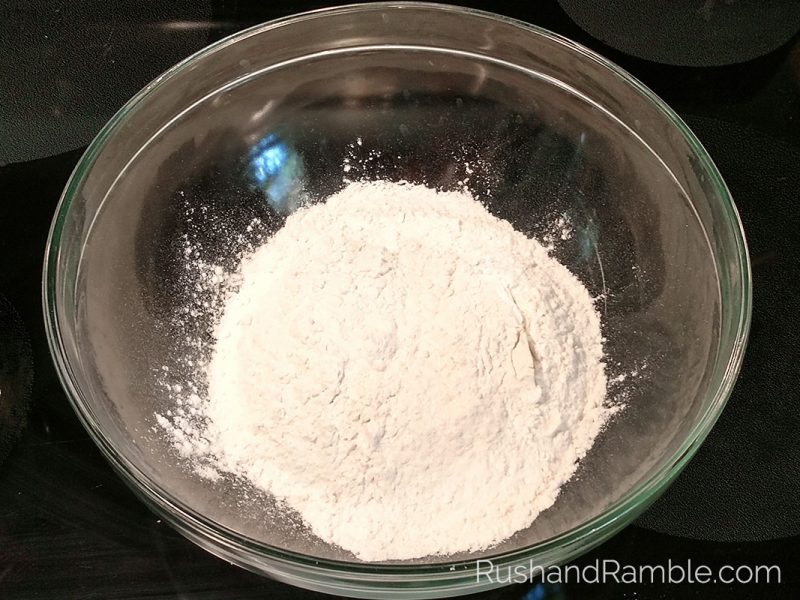
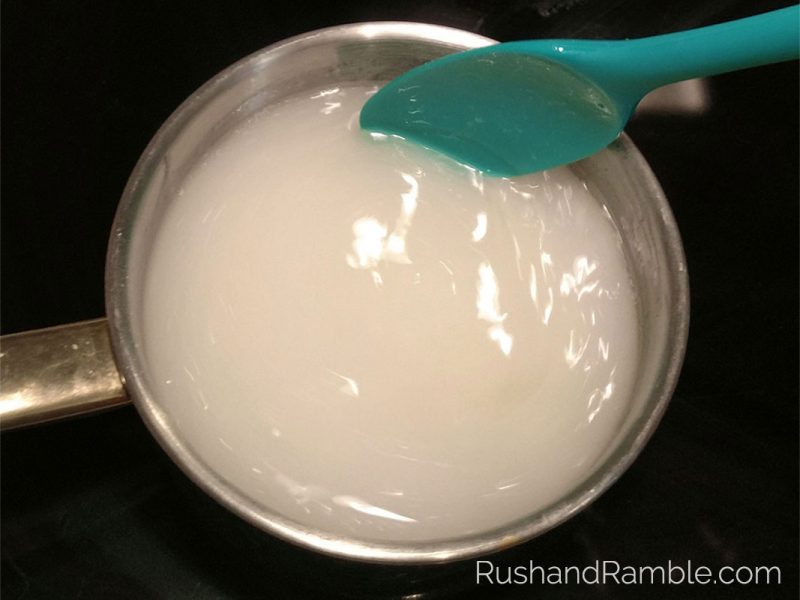
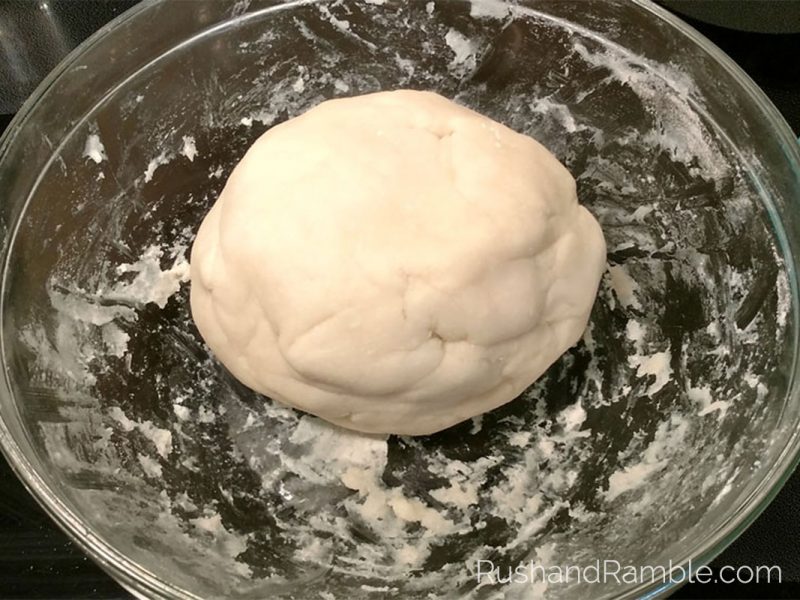
Pour flour in a large, heat-safe bowl and set aside. In a large saucepan, mix water, oil, salt, and cream of tartar. If you plan on making the entire batch of play dough one color, you can also add the food dye in this step and skip the mixing and kneading it in later. Heat the mixture until warm. I let it cook until small bubbles form at the bottom of the pan but remove it from the heat before it starts to boil. Pour the warm water over the flour in the bowl. If your water is too hot, it could cause your bowl to crack. If your water is boiling, set it aside to cool for a few minutes before pouring it into the bowl. Start by stirring the flour, then folding it in. Knead until thoroughly mixed (note: this step can get a little sticky, hence no pictures – my hands and kid were covered in gooey dough).
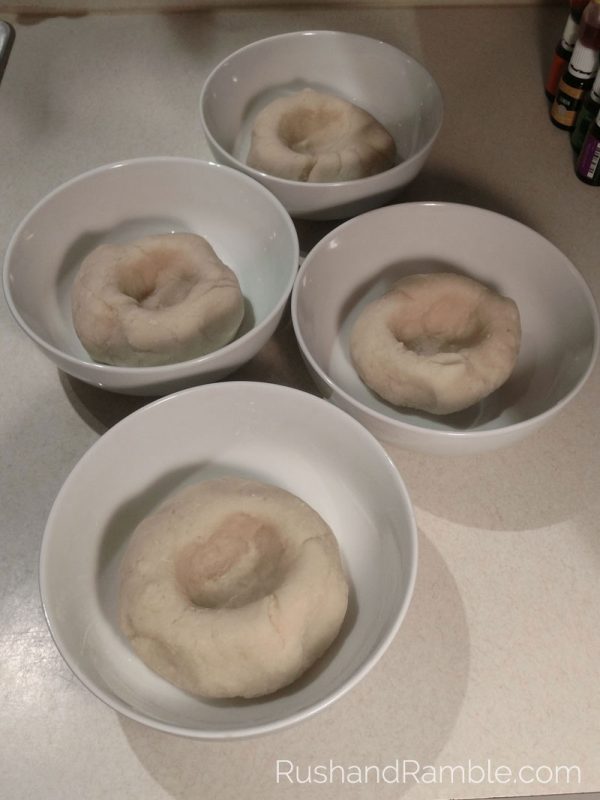
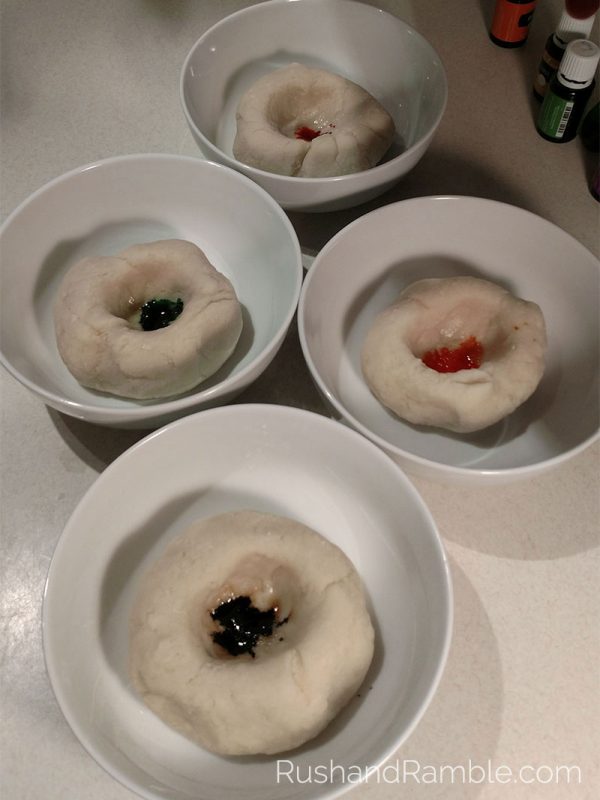
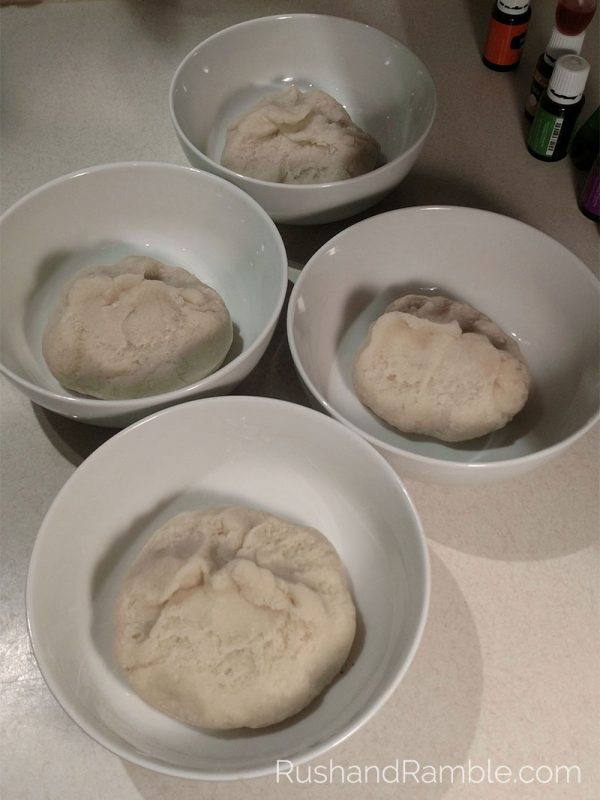
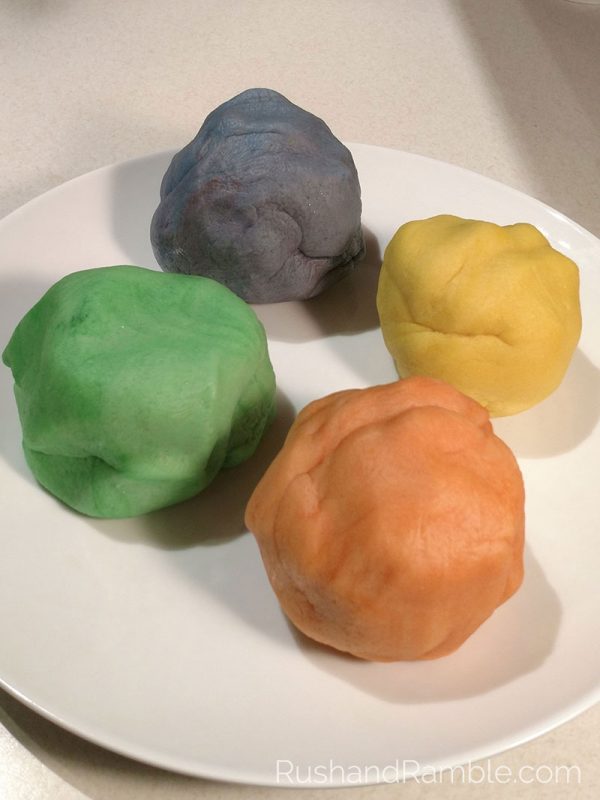
Once the flour is fully incorporated, separate it into smaller portions that are approximately equal in size. Roll the portions of dough into balls then, using your them, create a well in the middle. Add drops of food dye and essential oils then pinch the dough together to close the well. Knead the play dough until the dye is fully incorporated and evenly mixed throughout the ball of dough. Mixing the essential oil at the same time as the dye makes it much easier to know when the essential oil is fully distributed.
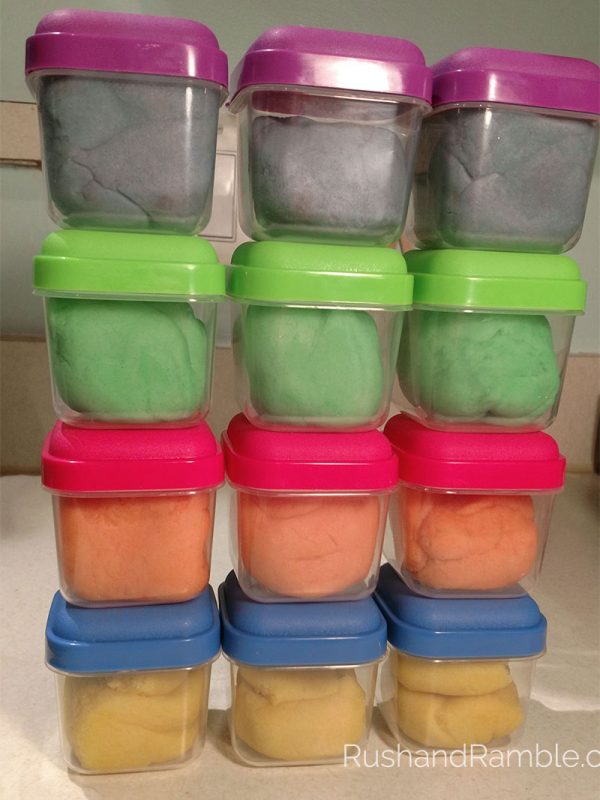
Once finished, you can store each color/scent separately or break them down into even smaller portions to share with friends or among multiple kids.
For this play dough recipe, I used lemon, lime, orange, and lavender essential oils, but there are many more to choose from. Check out our introduction to essential oils for more information on the essential oils used in this recipe.


