Cash Envelope Prototype
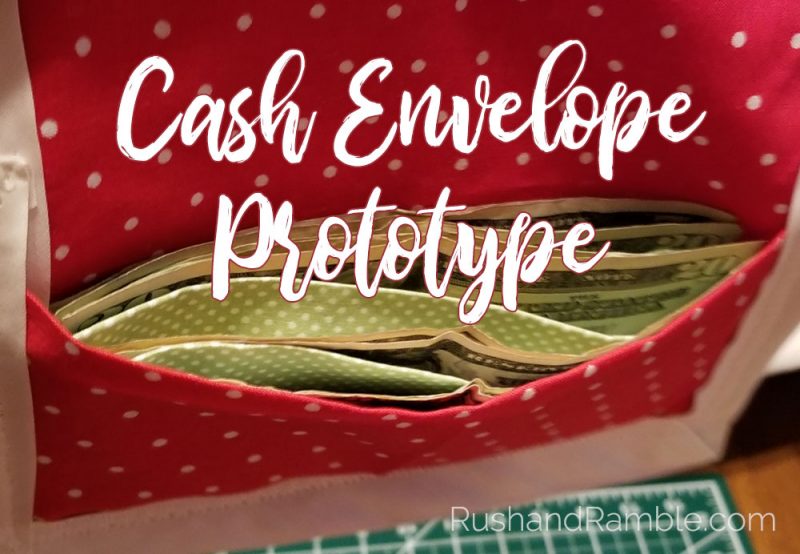
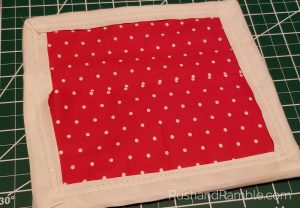
This post was almost titled the Ugly as Sin Cash Envelope Prototype. Seriously, so ugly. With some tweaks and fine tuning, I have no doubt this will turn out to be a cute and useful project. But this is the rough draft. You’ve been warned.
Have you attended Dave Ramsey’s Financial Peace University? Listened to his podcasts? Seen him on a TV interview? Heard a friend mention the name? Depending on who you’re talking to, the name Dave Ramsey is probably accompanies by glowing reviews or uttered like a curse word. Either way, if you’ve interacted with other human beings at any point in the past two decades, you’ve probably at least heard the name Dave Ramsey.
Cash Envelopes
Whether you’ve attended Financial Peace University, read his books, listened to the Podcast or looked up his Baby Steps, you have probably heard of cash envelopes. In case you haven’t here’s the short version. Stop paying for everything with a debit or credit card. Pay for items with cash to feel the purchase and limit your spending. To keep track of that cash, sort it into envelopes based on your Cash Flow/Zero Balance Budget. For example, if you have budgeted $200 for groceries, $100 for gifts, and $50 for pocket money this pay period, get three envelopes, label them and put the appropriate amount in each. If you want to learn more about it, there is a great article on DaveRamsey.com.
It is a pretty simple concept, and I quite like it. The problem is, cash envelopes are a bit annoying to carry around in a smaller purse. They also tear over time and give horrendous paper cuts. Instead of carrying a stack of paper envelopes, I decided I’d rather have an envelope wallet. Now, you can be a normal person and simply purchase a Dave Ramsey cash envelope or go for something from Etsy, but what would be the point of a blog post about just buying something?
Cash Envelope Prototype
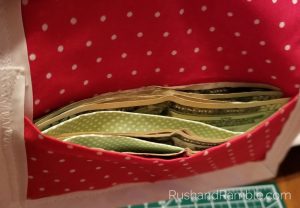
After our Financial Peace University session last night, I decided to make a fabric cash envelope. I didn’t want anything too elaborate, just a quick attempt to see how it would all come together. It definitely needs a lot of work, but I’m pleased with the direction and will hopefully find some time soon to give it another go.
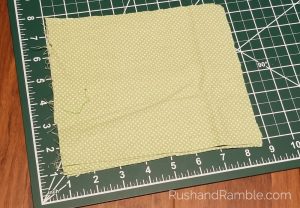
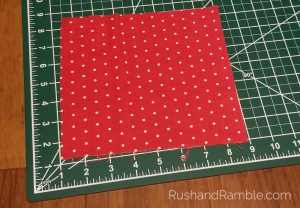
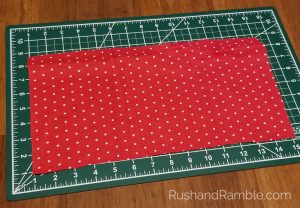
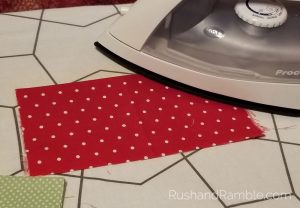
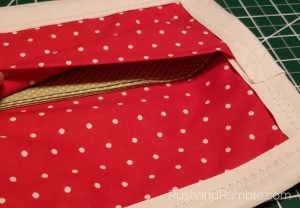
I started with a pile of scrap fabric and cut out four 6.5″x7.5″ pieces. These are the inner dividers. I then cut one 8″x7.5″ piece for the front and a 8″x14″ piece for the back and fold over flap.
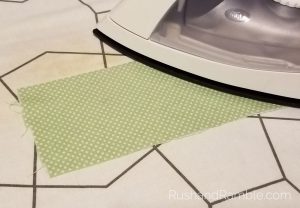
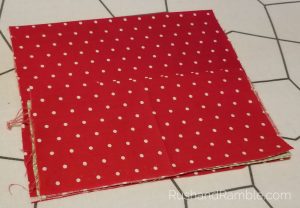
Next, I folded each of these pieces in half then used an iron to get a nice crease. In future attempts. I will probably do a quick stitch along this seam to help hold it long term and add some extra structure. I also plan to use a thicker fabric, like twill or duck cloth, for the external pieces.
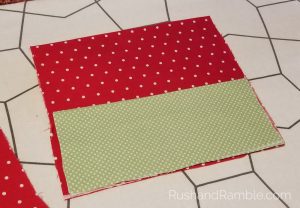
Before sewing the bias tape, I layered the pieces with the largest piece in the back, followed by the inside dividers and finally the front outside piece on top. I then trimmed down the edges to make them more clean and even.
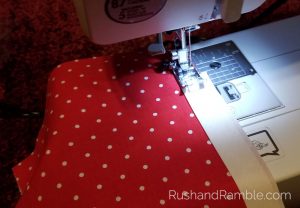
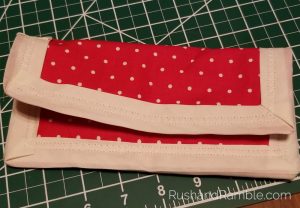
Finally, I used 1″ bias tape around the edges to hold it all together. I knew before I started 1″ would be far to large, but it was the only piece of scrap I had hanging around. I started by trimming the piece that would be the flap, and then added in the internal folds and front external piece.
The Ugly as Sin Cash Envelope Prototype
The execution was terrible, my edges are a disaster and the outer shell is flimsy. BUT the design concept works. It’s not going to win any awards or impress the cashier when I pay, but it will keep my cash envelope funds separated until I can get around to making a better one.
I’m debating keeping it as is or staggering the segments to be different depths on my next attempt. Or adding somewhere to label the pockets. There are a lot of possibilities. What would you change or add to make the ideal cash envelope wallet?

