Liquid Pouring Tutorial Series Part 2: Tips for Acrylic Liquid Pour

If you caught the first part of the Liquid Pouring Tutorial Series, welcome back. If you missed it, check out Liquid Pouring Tutorial Series Part 1: Getting Started.
Whether you are just getting started with Acrylic Paint Liquid Pouring or have been experimenting with the medium for a while, there is always something to learn. From keeping your work space cleaner to reusing dirty pour paint, Crystal is back to share some tips for acrylic liquid pour.
10 Tips for a Successful Liquid Pour Experience
Remove jewelry – yes even your wedding ring. Or use gloves.
Using disposable cups verses plastic reusable cups – I used the disposable cups in the very beginning. I washed them until they cracked. I discovered not all cups are created equal and that the silicone could eat right through the cups! Springing leaks! Solo cups cannot be used with silicone. You need a thicker cup if you are spraying silicone. I quickly switched to reusable cup for durability.
Surface – put down plastic, use a plastic box or cookie sheets to contain the mess. I found melamine trays were great for smaller canvases. Another artist built a large shallow wooden box for a table and lines it with the $1 table cloth. Makes clean up easy!
Saving paint – so much paint runs off the canvas! You can use the puddles to cover the next canvas. The wet paint will help the next layer of paint run easier across your canvas. You can also pour all the residual paint into one cup and, at the end of your session, dump that one onto a canvas. Or you can also let the paint dry, peel it up and use the skin for jewelry making.
Drying – I like to set my canvas up, off the table for drying. I reuse applesauce cups at each corner of the canvas to set it on or I have drying racks at home for smaller canvases. As the canvas dries it can stick to the surface you set it on- if you don’t have cups or a rack- lay down tin foil or wax paper so that you can lift it easily when dry.
Keep the canvas level – even if the top layer of paint dries, the underneath is still wet. I had a student lift her canvas by the side after an hour, letting it hang, The top layer of dried paint slid and wrinkled. I was able to tilt it back and get most of the wrinkles out, but it was her favorite canvas of the night and she was very distraught. On the flip side, I had a student not like her canvas and set it angled on its side overnight and the canvas changed dramatically.
Palette knife – have a palette knife for scooping paint off the table and adding to the sides of your wrapped canvas. You can also use a spoon or your finger to dab around the edges.
Don’t like it? Paint over it! – You can drop another cup right on top of the wet paint or let it dry and use it again next time!
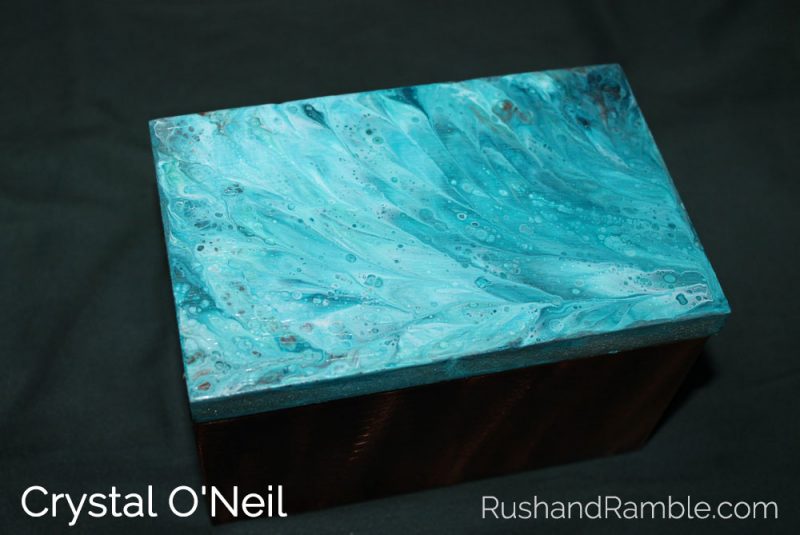
Beyond Canvas – you can liquid pour furniture, breakfast trays, light switches, garden pots and so much more!
Sealing your art – I use a fine arts gloss varnish spray. Varnishing your art will preserve it for generations. Epoxy/resin finishes are wildly popular too. I use it for my liquid pour trays, but I have seen epoxy covered canvases in galleries going for thousands of dollars! If you decide to try the epoxy, please do this outdoors or in a well-ventilated area. Only do this after your art is completely dry. I wait a week.
As always, have fun and get messy!

Want to Learn More?
Check back for the third installment in the Liquid Pouring Tutorial Series. In the meantime, you can also visit Crystal on Facebook or sign up for one of her upcoming classes in Jacksonville, Florida. There are currently four upcoming classes available on July 11, July 23, July 31 and August 6.
Have you tried out any of Crystal’s tips? Do you have any great tips of your own? Stop by Rush & Ramble on Facebook and share photos of your acrylic liquid pour art along with any tips or tricks you’ve learned along the way!
